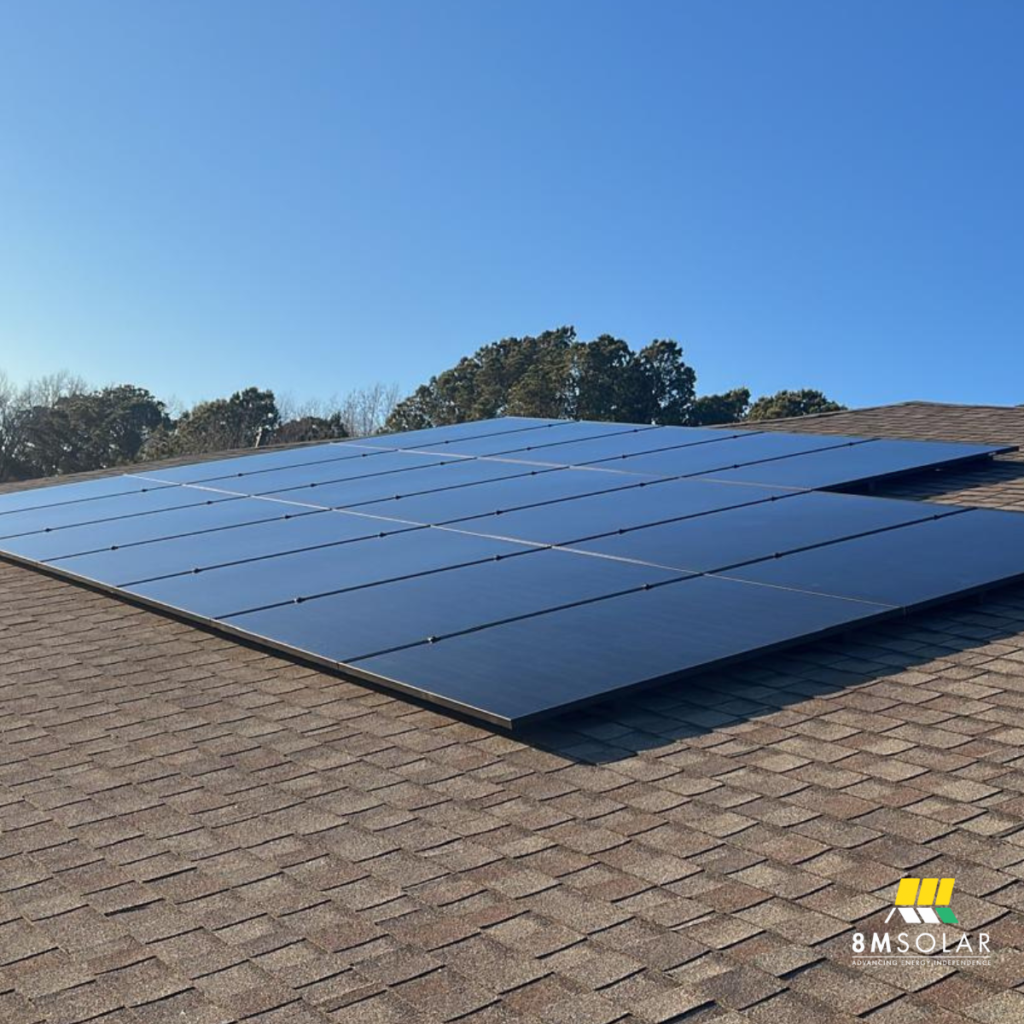
You’ve made the switch to solar energy, an investment in your home’s future and the environment. Your panels are installed, the system is connected, and you’re ready to start reaping the benefits of clean, renewable energy. But here’s a question that crosses many homeowners’ minds: How do I actually know my solar panels are working?
Unlike your car, which obviously isn’t working when it won’t start, solar panels silently do their job without much fanfare. There’s no engine noise, no moving parts you can see, and no immediate feedback that screams “Hey, I’m working!” The good news? Checking whether your solar system is performing as it should is easier than you might think.
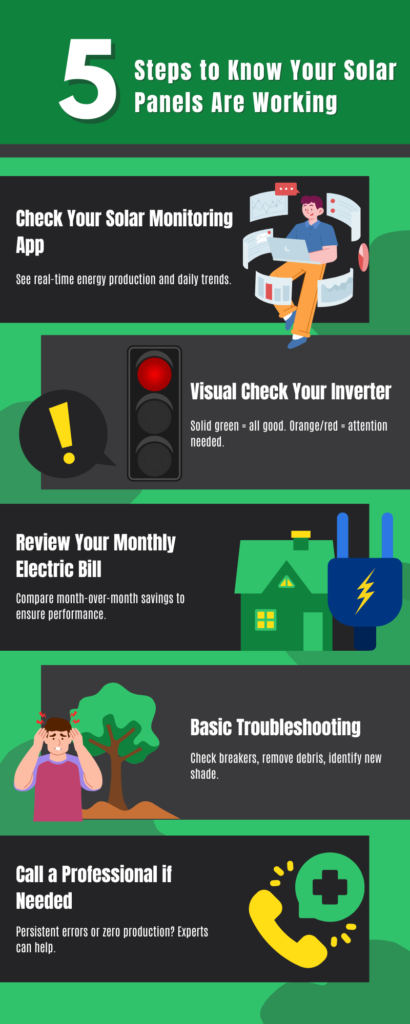
This guide walks you through five steps to verify your solar panels are generating power and saving you money. From checking a smartphone app to performing a quick visual inspection, you’ll have the confidence to monitor your system like a pro.
Table of Contents
- Step 1: Check Your Solar Monitoring App (The Best Method)
- Step 2: Perform a Visual Check on Your Solar Inverter
- Step 3: Review Your Monthly Electric Bill
- Step 4: Basic Solar Panel Troubleshooting
- Step 5: When to Call a Professional
- Frequently Asked Questions
- Ensure Your System is at Peak Performance with 8MSolar
Step 1: Check Your Solar Monitoring App (The Best Method)
Nearly all modern solar systems come with a monitoring system; either a smartphone app or a web portal you can access from any device. This is the most accurate and convenient way to check your system’s performance. Think of it as your solar system’s dashboard, giving you real-time insight into how much energy you’re producing.
Most major solar inverter manufacturers, including the brands 8MSolar installs, offer monitoring platforms. These apps connect to your system through Wi-Fi and display your production data in an easy-to-read format. If you haven’t already downloaded your monitoring app, now’s the time. Your solar installer should have provided you with login credentials during your installation.
How to Read Your Production Data
Once you’re logged into your monitoring system, the metric to look for is kilowatt-hours, or kWh. This measures the total amount of electricity your panels have generated over a specific period. Think of kWh like miles driven in your car—it’s a cumulative measure of your system’s output.
Your monitoring app will usually show production data in several time frames: daily, monthly, and yearly. On a sunny day, you should see your system actively generating power, with production peaking during the midday hours when the sun is strongest. Check your daily production to see if it aligns with what you’d expect based on the weather.
If you have a 6-kilowatt system and it’s a clear, sunny day, you should see production close to that maximum output during peak sunlight hours. Your app might also show a graph that illustrates how production ramps up in the morning, peaks at midday, and tapers off in the evening. This pattern should look like a gentle hill or bell curve.
What’s Normal? Understanding Production Fluctuations
Your solar panels won’t produce the same amount of energy every single day, and that’s normal. Output will naturally vary based on several factors: weather conditions, the season, and time of day all play a role.
On a clear, sunny day in summer, your system should be producing close to its maximum power rating during midday. In winter, even on a sunny day, production will be lower because the sun is at a different angle and daylight hours are shorter. Cloudy or rainy days will see a drop in production, though your panels will still generate some power from indirect sunlight.
Don’t panic if you see day-to-day variations. What you want to watch for is consistent trends. If production is much lower than expected for several days in a row during good weather, or if you notice a sudden drop compared to the previous month, that could signal an issue worth investigating.
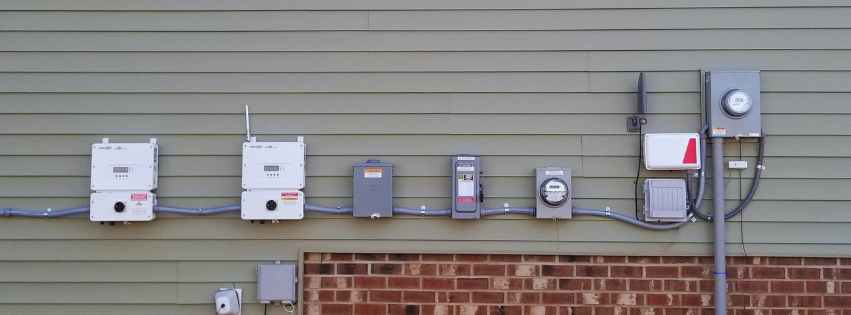
Step 2: Perform a Visual Check on Your Solar Inverter
Your solar inverter is the heart of your solar power system. While your panels capture sunlight and convert it into direct current (DC) electricity, the inverter’s job is to transform that DC power into alternating current (AC) electricity that your home can use. Without a functioning inverter, even perfectly good panels won’t do you any good.
The beauty of most inverters is that they come with built-in status indicators that tell you at a glance whether your system is operating normally or experiencing a problem.
How to Find Your Inverter
The location of your inverter depends on the type of system you have. If you have a central or “string” inverter, it’s typically mounted on an exterior wall of your home, in your garage, or in a utility room. It’s usually a box about the size of a small briefcase, with indicator lights visible on the front panel.
If your system uses microinverters—small inverters mounted underneath each individual panel—you won’t have a central unit to check. Instead, you’ll rely more heavily on your monitoring app to track the performance of each panel independently.
Decoding the Inverter’s Indicator Lights
Most inverters use a simple color-coded light system to communicate their status. Here’s what those lights mean:
Solid Green Light: This is what you want to see. A steady green light indicates your system is operating normally and producing power. Everything is working as it should.
Flashing Green Light: A blinking green light usually means the system is in a low-power state or starting up. This is normal during early morning hours or on very cloudy days when there isn’t enough sunlight to generate full power. If you see this at midday on a sunny day, though, it might warrant a closer look.
Orange or Red Light: This is your system’s way of saying something isn’t right. An orange or red indicator light signals a system fault or error. It could be a minor issue like a temporary grid disruption, or it could indicate a more serious problem that requires professional attention.
If you see an orange or red light, check your monitoring app for more detailed error codes or messages. Some issues resolve themselves after the inverter resets, but if the warning light persists, it’s time to contact your installer.
Step 3: Review Your Monthly Electric Bill
Your utility bill is the ultimate proof that your solar panels are doing their job. After all, the whole point of going solar is to reduce your electricity costs and gain more control over your energy expenses.
What to Look For on Your Bill
When you review your monthly electric bill, look for the “net metering” or “net generation” section. Net metering is a program that credits you for excess solar energy your system sends back to the grid. On months when your panels produce more electricity than you consume, you may see a credit that rolls over to future bills.
Your bill should be lower than it was before you installed solar panels. However, it’s normal for it not to be zero. Most utility companies still charge a monthly connection fee or service charge, even if you’re producing all your own power. You’ll also likely draw some electricity from the grid during nighttime hours when your panels aren’t producing.
The key is to compare your total costs month over month and year over year. If your solar system is working properly, you should see substantial savings compared to your pre-solar bills.
Spotting a Problem Over Time
One of the best ways to identify a potential issue is to compare your current bill to the same month from the previous year. Solar production follows seasonal patterns, so June of this year should look relatively similar to June of last year.
If you notice your bill creeping up without any changes to your energy usage habits—you haven’t added a new appliance, your household size is the same, and you’re not using more heating or cooling—it could signal that your system isn’t producing as much energy as it should. This is worth investigating further.
Step 4: Basic Solar Panel Troubleshooting
Before calling in a professional, there are a few simple troubleshooting steps you can try on your own. These quick checks can sometimes resolve minor issues and get your system back to full production.
Check Your Breaker Box
This might seem obvious, but it’s worth checking: make sure the breaker connected to your solar system hasn’t been tripped. Your solar installation includes a dedicated circuit breaker in your main electrical panel. If this breaker gets switched off or trips for any reason, your system won’t be able to send power to your home or the grid.
Head to your breaker box and look for the breaker labeled for your solar system. If it’s in the “off” position or somewhere between on and off, flip it all the way off and then back on. This simple reset can sometimes resolve temporary issues.
Look for Obvious Obstructions or Debris
Solar panels are designed to withstand the elements, but a heavy accumulation of dirt, leaves, bird droppings, or snow can temporarily reduce their output. While rain usually does a decent job of keeping panels clean, certain conditions can lead to buildup that affects performance.
Take a look at your panels from ground level. Do they appear visibly dirty? Is there debris covering a large portion of the surface? While you should never climb onto your roof to clean panels yourself, you can schedule professional cleaning if needed. Clean panels can improve your system’s efficiency and guarantee you’re getting maximum production.
Identify New Sources of Shading
When your solar system was designed, your installer carefully analyzed your roof’s sun exposure to maximize production. But over time, things can change. Trees grow, neighbors build additions, or new structures appear that create shade where there wasn’t any before.
Shading is one of the biggest enemies of solar production. Even partial shade on a single panel can reduce the output of your entire system, depending on how it’s wired. Take a walk around your property during different times of day and observe whether anything is casting shadows on your panels that wasn’t there before.
If you identify new sources of shade, you may need to trim trees or work with your installer to reconfigure your system for optimal performance.
Step 5: When to Call a Professional
Solar systems are designed to be low-maintenance and reliable, but like any technology, they can occasionally experience problems that require expert attention. Knowing when to call a professional can save you time, money, and frustration.
Signs You Need to Contact Your Solar Installer
Here are indicators that it’s time to reach out to the professionals:
Red Light on the Inverter: As we mentioned earlier, a persistent red or orange light on your inverter indicates a system fault that needs professional diagnosis.
Zero Production on a Sunny Day: If your monitoring app shows zero production during peak sunlight hours on a clear day, and you’ve already checked that your breakers are on, you likely have a technical issue that requires professional repair.
Consistently High Electric Bills: If your bills have returned to pre-solar levels without explanation, your system may not be producing power properly. A technician can run diagnostics to identify the problem.
Physical Damage: If you notice cracked panels, exposed wiring, or damage to your mounting system after a severe storm, don’t attempt to fix it yourself. Contact your installer immediately.
Remember that your solar system is covered by comprehensive warranties—usually 25 years for panels and 10-25 years for inverters. If your system is experiencing issues, your installer should be your first call. They know your system inside and out and can quickly diagnose and resolve problems.
Frequently Asked Questions
Why is my solar production lower on cloudy or rainy days?
Solar panels generate electricity from sunlight, so production naturally decreases when clouds block direct sun exposure. However, your panels will still produce some power from indirect or diffused light, just at a reduced level compared to a clear, sunny day. This is normal and doesn’t indicate a problem with your system.
Do my solar panels work during a power outage?
This surprises many homeowners, but most grid-tied solar systems automatically shut down during a power outage. This is a safety feature designed to protect utility workers who may be repairing power lines. If your system includes battery storage, you can maintain power to essential circuits in your home during an outage. This is one of the benefits of adding a battery backup to your solar installation.
How often do my solar panels need to be maintained?
Solar panels are low-maintenance. There are no moving parts to wear out, and they’re designed to withstand decades of weather exposure. Most systems benefit from occasional cleaning and a periodic professional inspection to ensure all components are functioning properly. An annual checkup is a good practice to catch any small issues before they become bigger problems.
Ensure Your System is at Peak Performance with 8MSolar
Monitoring your solar system doesn’t have to be complicated. By following these five simple steps—checking your monitoring app, performing a visual inverter check, reviewing your electric bill, trying basic troubleshooting, and knowing when to call a professional—you can make sure your solar investment continues to deliver maximum value year after year.
The beauty of solar energy is that once your system is up and running, it works quietly and efficiently in the background, reducing your carbon footprint and cutting your energy costs. But staying informed about your system’s performance gives you peace of mind and helps you catch any issues early.
If you’ve run through this checklist and suspect your system is underperforming, don’t wait. Our expert technicians at 8MSolar are here to help. We offer system diagnostics and maintenance services to keep your solar installation operating at peak efficiency. Schedule a Solar System Health Check with us today, and let’s make sure you’re getting every kilowatt-hour your panels are capable of producing. Your investment in clean energy deserves nothing less than flawless performance.